
How to Build and Host a Website Without Writing a Single Line of Code (2025 Guide)
For Instagram, copy the link and share it in your story or bio

How to Build and Host a Website Without Writing a Single Line of Code (2025 Guide)
You want a website. You want to own it. You want it on your own server. But you don't know how to code.
Good news: Now, you don't need to be a developer to deploy a professional website on a server.
This guide will walk you through the entire process, from buying a "server" (hosting) to designing your site with drag-and-drop tools.
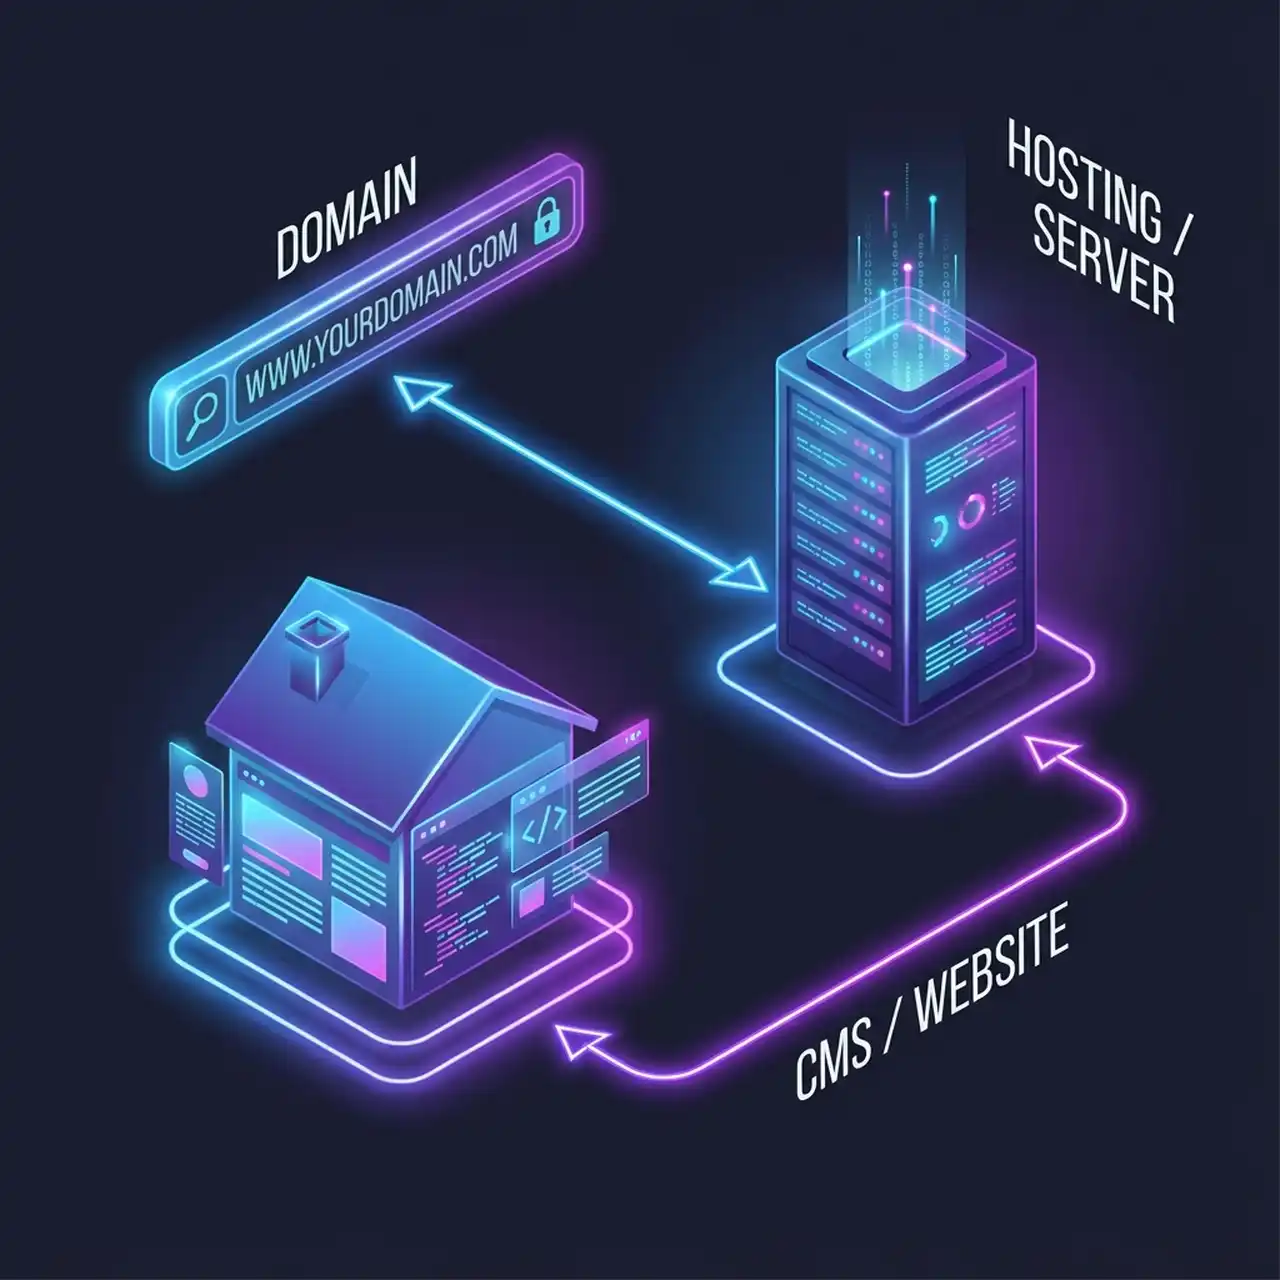
The 3 Pillars of a Website
Before we start, you need to understand the pieces:
- The Domain: Your address (e.g.,
google.com). This is what people type to find you. - The Hosting (Server): The land where your house sits. This is the computer that stays on 24/7 to show your site to the world.
- The CMS (Content Management System): The house itself. We'll use WordPress, the most popular no-code platform in the world (powering 43% of the web).
Step 1: Buy Your "Server" (Web Hosting)
You don't need to buy a physical computer. You rent space on a high-powered server.
What to choose: For beginners, "Managed WordPress Hosting" is best. It handles the scary technical stuff (security, speed, updates) for you.
Recommended Providers:
- Hostinger: Very affordable, great interface.
- SiteGround: Excellent support.
- Bluehost: Standard tailored for WordPress.
How to do it:
- Go to the provider's website.
- Choose a "Shared Hosting" or "WordPress Hosting" plan.
- Claim your free domain. Most plans give you one for free (e.g.,
yoursite.com).
Step 2: Install Your "Engine" (WordPress)
Years ago, installing software on a server was hard. Now, it's one click.
The Process:
- Log in to your hosting dashboard (e.g., hPanel or cPanel).
- Look for the "Auto Installer" or "Website Builder" section.
- Select WordPress.
- Create a username and password (write these down!).
- Click Install.
Boom. You just deployed software to a server. You are now a web admin.
Step 3: Log In to Your Command Center
Once installed, your site is live, but it looks empty. Let's fix that.
- Go to
yoursite.com/wp-admin - Enter the username/password you created in Step 2.
- Welcome to the WordPress Dashboard. This is where you control everything.
Step 4: Install a Visual Builder (Elementor)
We don't want to code HTML. We want to drag and drop.
- In your Dashboard, go to Plugins > Add New.
- Search for Elementor.
- Click Install Now, then Activate.
Elementor is a "Page Builder." It lets you design your site by dragging elements (images, text, buttons) onto the screen.
Step 5: Choose a "Theme" (The Foundation)
A theme controls the basic structure (header, footer, fonts).
- Go to Appearance > Themes > Add New.
- Search for Hello Elementor (it's lightweight and built for the builder).
- Click Install, then Activate.
Step 6: Build Your Pages
Now the fun part.
- Go to Pages > Add New.
- Click the big blue button: Edit with Elementor.
- Drag and Drop:
- Want a title? Drag the "Heading" widget.
- Want an image? Drag the "Image" widget.
- Want columns? Click the "+" icon.
- Use Templates: Elementor has pre-made blocks. Click the folder icon to insert a full "About Us" or "Contact" section in seconds.
Step 7: Launch!
When you're happy with your design:
- Click the green Publish button in the bottom left corner.
- Your site is effectively "deployed" and live on your server.
Summary
You just:
- Rented a server.
- Connected a domain.
- Deployed a CMS application.
- Built a responsive UI.
...all without writing a single line of code. Welcome to the no-code revolution.